
Replacing your home’s windows can feel daunting, but with the right preparation and tools, many homeowners ask, “Can I replace my windows myself?” The short answer is yes—for standard, single-pane or retrofit insert jobs, DIY window replacement is entirely feasible. In this guide, we’ll walk through everything from assessing your skills and selecting materials to precise measuring and installation tips.
Why Consider DIY Window Replacement?
- Cost Savings: Labor often accounts for 40–60% of a professional window replacement bill. Doing it yourself can save hundreds—even thousands—of dollars.
- Flexibility: You can work on your own schedule, tackling one window at a time.
- Satisfaction: Completing a home improvement project builds skills and confidence.
That said, complex projects—like full-frame replacements in load-bearing walls or specialty glass—may still warrant a pro.
Step 1: Assess Your Skill Level and Tools
Before embarking on a DIY window replacement, be honest about your comfort with:
- Basic carpentry: Cutting, shimming, and caulking
- Power tools: Circular saw, drill, level
- Safety practices: Handling glass, working at heights
Essential tools and materials include:
- Replacement window units or insert kits
- Tape measure, level, and square
- Pry bar, hammer, utility knife
- Low-expansion foam sealant and exterior/interior caulk
- Shims, galvanized screws, and flashing tape
Step 2: Choose the Right Replacement Windows
There are two main DIY-friendly options:
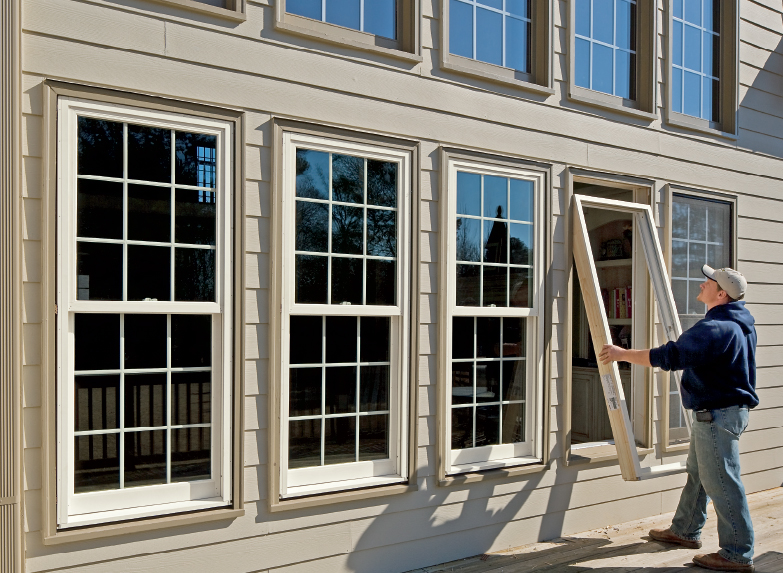
- Retrofit Inserts
- Slide into the existing frame.
- Preserve siding and exterior trim.
- Ideal when the old frame is square and rot-free.
- Full-Frame Replacement
- Removes the entire window and frame.
- Allows you to upgrade flashing and insulation.
- Best when old frames are damaged or you want a larger opening.
For most first-timers, retrofit inserts are simpler and less messy.
Step 3: Accurate Measuring Is Critical
Can I replace my windows myself if I get the measurements wrong? Not really—ill-fitting windows lead to drafts, leaks, and costly returns. To measure:
- Remove the interior stop or sash.
- Measure the rough opening’s width (left, center, right) and height (top, middle, bottom).
- Note the jamb depth (thickness of the frame).
- Subtract 1/4″ from width and height for shims and sealant space.
Always record three measurements and use the smallest dimension for ordering.
Step 4: Prepare the Opening
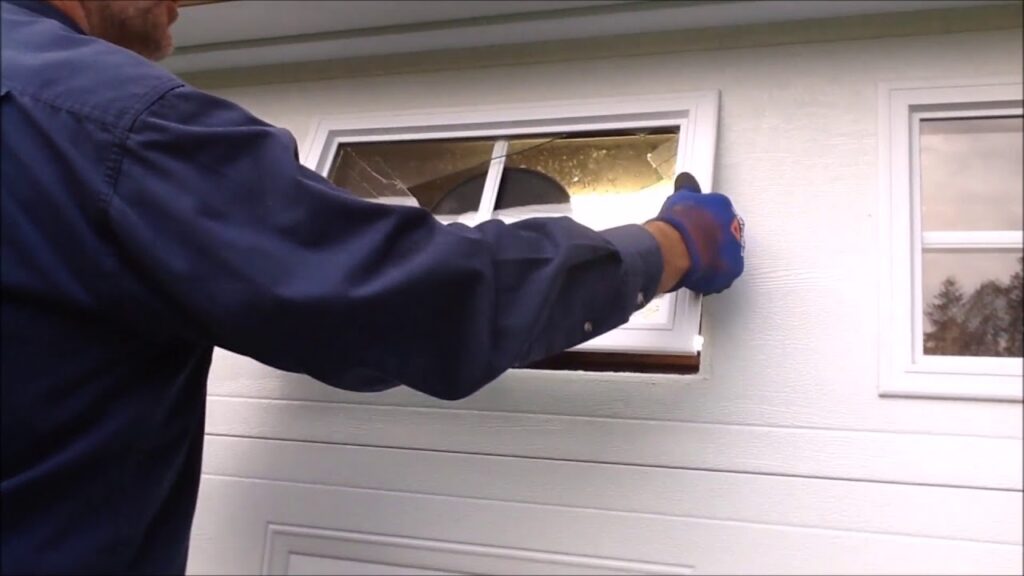
- Remove the Old Window
- Pry off stops and slide out sashes.
- Unscrew and extract the frame. For retrofit, remove only the sash and stops necessary.
- Inspect and Repair
- Check for rot or water damage.
- Replace any damaged wood, install flashing tape at sill and jambs.
- Clean & Level
- Clear debris, ensure the sill is level—use shims to correct any low spots.
Step 5: Install the New Window
- Dry Fit
- Place the new unit in the opening to verify fit.
- Apply Flashing & Sealant
- Run a bead of exterior-grade caulk along the sill’s backside.
- Install flashing tape up each jamb, overlapping the sill.
- Position & Shim
- Center the window and press it firmly against the sill sealant.
- Insert shims at the sill corners and under the jamb.
- Fasten
- Drive screws through pre-drilled holes in the window flange or through the jamb into the framing, checking level and plumb as you go.
- Insulate
- Fill gaps between frame and rough opening with low-expansion foam—avoid over-filling.
Step 6: Finish with Trim and Caulk
- Interior: Reinstall or replace stops; add trim if desired. Caulk the seam where the window meets the wall.
- Exterior: Seal the flange or trim with exterior-grade caulk. Touch up paint on wood frames to prevent moisture intrusion.
Troubleshooting & Safety Tips
- If you notice the window binds or isn’t square, remove fasteners and adjust shims before proceeding.
- Always wear gloves, safety glasses, and sturdy footwear when handling glass.
- For upper-story windows, consider a scaffold or ladder stabilizer, and never work alone.
When to Call a Professional
If your project involves:
- Historic or lead-painted frames
- Load-bearing structural modifications
- Complex glass types (laminated, low-E, triple-pane vacuum units)
…it may be wiser (and safer) to hire an experienced window installer.
Final Thoughts
So, how can I replace windows myself? By choosing the right retrofit system, investing time in accurate measuring, and following careful installation steps, you can successfully replace many standard windows on your own. And if you ever ask, “Can I replace my windows myself?”—the answer is a confident yes, provided you respect the details and safety guidelines. Ready to save money and take on your next DIY challenge? Gather your tools and start measuring—your new, efficient windows await!