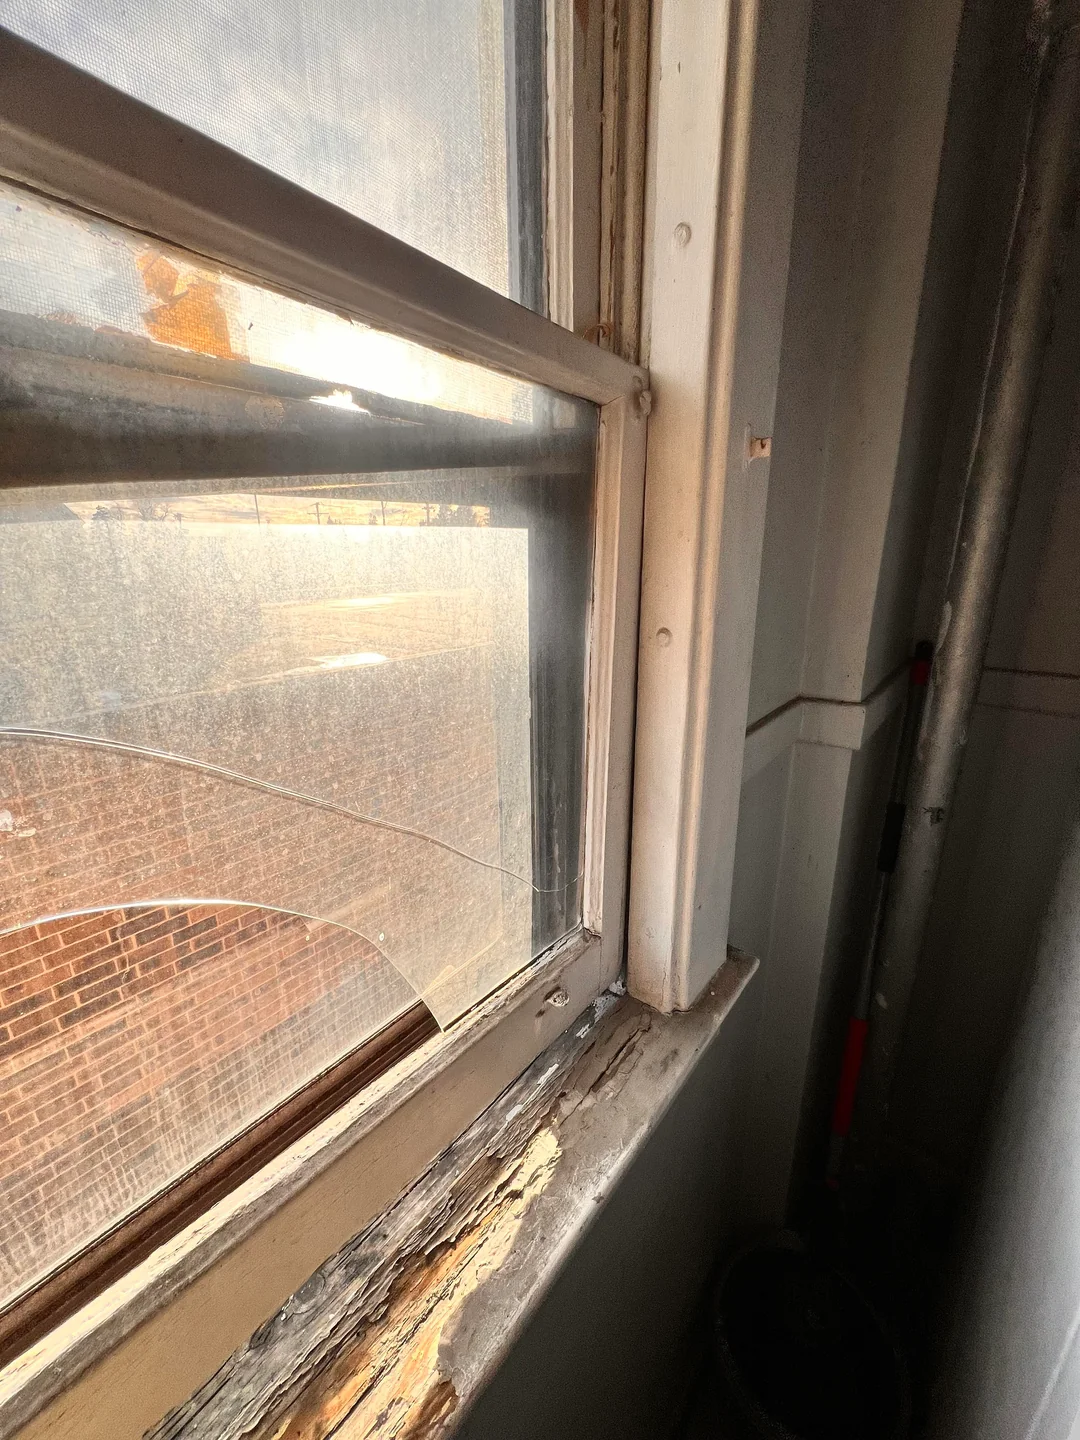
Drafty, cracked, or hard-to-open windows can drive up energy bills and compromise your home’s comfort. However, you don’t need to break the bank on full replacements. With these cheap window fix ideas, you can seal drafts, improve functionality, and boost efficiency on a shoestring budget.
How Can I Replace Windows Myself? A Step-by-Step DIY Guide
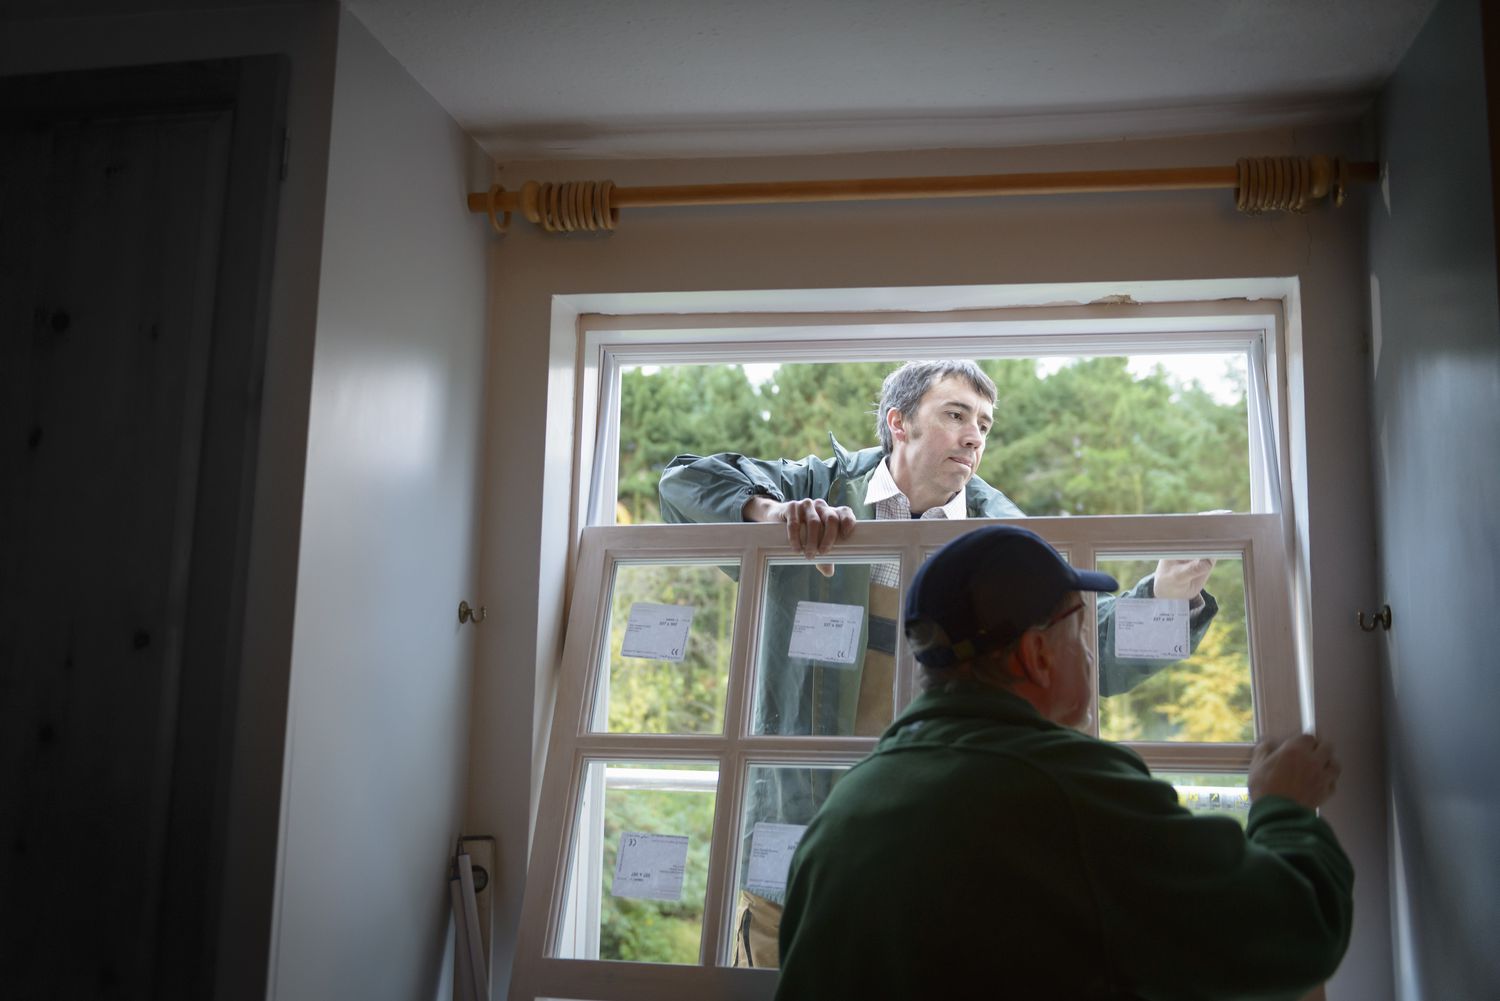
Replacing your home’s windows can feel daunting, but with the right preparation and tools, many homeowners ask, “Can I replace my windows myself?” The short answer is yes—for standard, single-pane or retrofit insert jobs, DIY window replacement is entirely feasible. In this guide, we’ll walk through everything from assessing your skills and selecting materials to precise measuring and installation tips.
Broken Window Repair: A Homeowner’s Guide to Fast, Safe, and Affordable Fixes
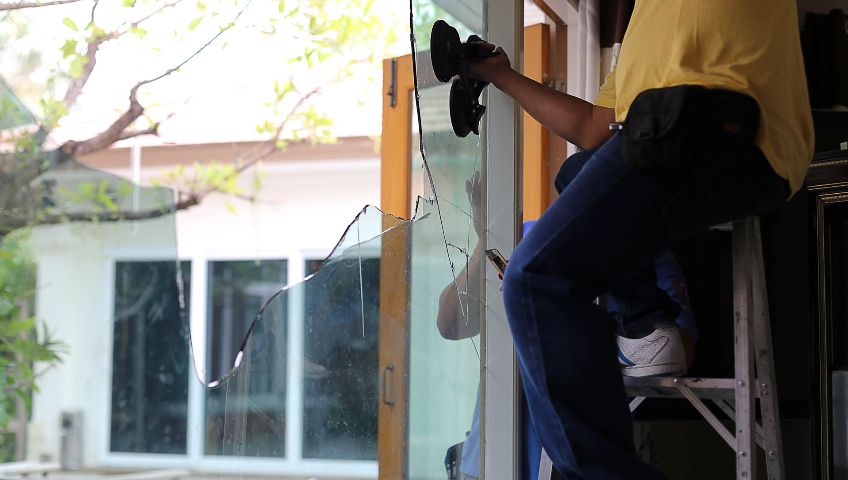
A broken window isn’t just unsightly—it compromises your home’s security, energy efficiency, and even your family’s safety. Whether you’ve got a small crack or a fully shattered pane, knowing the essentials of broken window repair can help you tackle the problem quickly, prevent further damage, and save on costly replacements. In this guide, you’ll find practical tips, step-by-step instructions, and advice on when to call in the pros.
How to Tackle Broken Glass Window Repair: A Step-by-Step Guide
A cracked or shattered window is more than an eyesore—it’s a safety hazard and an energy drain. Whether you’re dealing with a single cracked pane or a fully broken window, broken glass window repair can be handled safely and affordably. In this guide, you’ll learn how to assess damage, gather the right tools, and choose between DIY fixes and professional replacement.

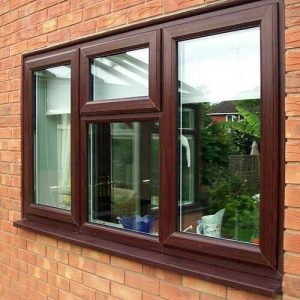
Safe windows for children: popular blocking systems
The Internet, TV and print media are literally filled with reports of tragedies that are associated with the fall of people from the upper floors. Unfortunately, the statistics are exacerbated by children, who always fall out of windows by accident, unlike adults (nobody canceled suicides). The reason lies in most cases in the imperfect design of windows and the irresponsibility of parents. But the situation is gradually changing, and today manufacturers pay special attention to the installation of special systems and devices that make windows safer for children. We will talk about them further.
How to make a window even safer
Now for some statistics. The most dangerous age when children fall out of windows is 2-4 years. A third of all cases occur in front of adults, the remaining cases occur within the first 15 minutes, as the child was left unattended. The main reason is the curiosity of children at this age: they actively explore the world, but don’t yet understand what security is, unlike older children.
Also, the cause is often a mosquito net, which seems to be securely installed on the window, but in fact it has an unreliable retainer: the latch pops out of the semicircular retainer with a slight pressure of only a few kilograms; the child thinks that he has found a reliable support, and falls out of the window. Also, a child can get hurt on a sharp window sill or cut himself by breaking glass.
Problems need to be solved in several ways:
Install high strength double glazing.
Limit children’s access to the openings between the window sashes as much as possible.
Lock hardware.
Close sharp corners on the windowsill.
Now let’s talk in more detail about the systems that families with young children need to buy in order to avoid tragedy.
Handles with locks
This is the easiest way to block a window. The technology is as follows: you change an ordinary handle to a handle with a lock, and if necessary, you block it by turning the key. This way, when you close the window, turn the key and hide it in a safe place, you can be sure that the child will not open the window sash. The popularity of this method lies in its advantages:
You don’t have to look for extra space in the window, you just change the handles.
You can fix the handle not only in the closed position, but also in the open position.
Such a system is suitable for almost any windows.
The child is guaranteed not to be able to cope with the blocker without a key.
You will also protect yourself from intruders entering, as long as they are not going to break the glass.
Installation is easy to do yourself, as it doesn’t take much time and does not require the use of special tools. If the key is lost, a new core can be inserted.
Lock in the sash
Such a lock is installed in the window sash, the locking mechanism is activated when the key is turned and the structure can’t be opened without a key. But the system has flaws.
Firstly, if the structure is locked, then you will not be able to ventilate the window, which can be a problem in warm weather.
Secondly, the installation of the lock is carried out directly in the profile, which may not look very aesthetically pleasing.
Thirdly, you will have to install a new lock if the key is lost; and the child may try to open the window sash if the key is left in the door hole.
Users are much more likely to prefer handles with locks for precisely these reasons.
Push button lock
The button with the locking mechanism is mounted on the handle, less often on the window sash. You just need to press it so that the window doesn’t open. Everything is very convenient. But there is a catch: there is no guarantee that the child will not unravel the «secret» and will not be able to open the window on his own. Random press can also unlock the system.
Window sash blocker
Another reliable system that allows you to completely block the opening of the window. It’s a rotary latch that blocks when raised the free movement of the window sash. After that, its position is fixed with a key, and turning to open the window becomes impossible.
But you will not be able to put the window sash in the ventilation mode during blocking, which limits the functionality. Another problem is the possibility of losing the key. Installation of such a blocker is not difficult.
Lock with ventilation limiter
In this system, the lock is installed in the lower part of the active window sash. You can carry out ventilation, and the child will not be able to climb into a narrow opening, and it will be impossible to open the window completely. If the child is supervised, then you can easily unlock the window sash with a key.
Removable handle
In this system, a device with a socket plug is installed instead of a handle. It’s removed from the nest with a simple movement, and it becomes impossible to open the window. System advantages:
Easy to use.
Doesn’t require a key.
Can be blocked in ventilation mode.
When the child is under supervision, the handle is quickly put into place, and you can use the window again.
Blocker with restriction of the window sashes opening
The blocker is a cable of a certain length, which is mounted on the passive window sash on one side, and on the active window sash on the other. It’s like chains on doors. It’s used on windows in which there is no «window leaf» mode. The part that is fixed to the active window sash has a key hole. If you need to limit the opening of the window sash, then you install the free end of the cable into the mechanism and turn the key. Thus, the window sash can only be opened by the length of the cable, and the child will not be able to climb out through a narrow opening.
In addition, don’t forget to install impact-resistant triplex double-glazed windows or use anti-vandal film for especially active children. Cover sharp corners on window sills with smoothing overlays.
If you use the above recommendations, you can’t worry about the safety of your child, especially about falling out of windows.

Best Door Painting Techniques
MT: How to paint an interior door — six top tips from professionals
MD: Painting a door yourself is not always easy. This process involves a few intricacies and challenges. Discover six crucial tips that will help you prepare the door for painting and paint it as experts would.
Tags: paint a door, how to paint doors, paint doors, paint interior doors
Best Door Painting Techniques
Painting a door is a quick way to give your interior a fresh look. If you have 6-panel doors, these are the trickiest to paint smoothly. Follow our tips to do it like a pro. Well-painted doors look impressive for many years!
Decide about Priming
This is necessary if the door was previously covered with oil paint, lead paint, or latex. If the previous latex coating is in good shape and you want to paint over it with latex, go for it.
Prepare the Door
 You may decide to remove the door or keep it in place. In the first case, you will also need to take off the latch and knobs. Lay the door on sawhorses horizontally. This way, drips will not be an issue. Besides, there will be less pressure on your back. However, removal is not always easy.
In any situation, protect the area under the door — use some cardboard, rags, newspapers, etc. to cover it. Sand the surface, but only slightly — use some sandpaper or a sanding block. Remove any blemishes or bumps. The surface becomes a little rough, so the new paint will adhere better. Remove sawdust with a damp rag.
Paint Interior Parts
You may use a brush or a small roller to speed up the process. First, tackle the flat panels. Roll the paint, smoothen it out with a brush (always follow the grain direction), and then work with the surrounding detailed areas.
Wooden doors include different pieces where the grain usually changes direction. If you follow it, you will create a high-quality look even on inexpensive doors with a hollow core. Brushstrokes must always go parallel to the wood grain — the opposite looks awful.
Paint Central Pieces
Use a roller on the inside vertical piece. Move it up and down following the grain. Next, switch to a brush. When you are finished with this element, move on to the horizontal cross pieces in the middle. Again, make sure to follow the grain with your brush strokes.
Paint The Border
Again, follow the grain. It usually goes vertically. The border includes a header and a footer. These are the panels located between the left and right sides. Paint them with horizontal strokes of your brush.
Paint the Edges
Remember that you must never paint the hinges, as this looks glaringly unprofessional. If they were painted previously, you may consider removing the paint from the metal. The same applies to the knobs.
To paint the edges, use a roller first. Smoothen the areas out with a brush. Look out for any drips of paint in the process.
Finishing Touches
Check the door face for imperfections before the paint dries (this should take between 30 and 60 minutes). Apply another coat of paint, and let the door dry for a couple of hours. Next, paint the other side following the same logic. Voilà!

Checklist for Finding the Reputable Window Company
Looking to replace your windows or want to get windows for your new construction? Then it is essential for you to work with a reputable company. The big question, however, is how to know if you are dealing with one. We understand the struggle that comes with selecting the right manufacturer. This post will let you in on invaluable information provided by experts from Ecoline Windows Replacement company that will help you in selecting the right people for the job. Tag along.

Variety of products available
One crucial factor when selecting a window company to work with is the variety when it comes to the types of windows available.
You may not know this, but windows come in several styles that you could choose from. Take a look at the most popular types of windows in the country.
1.Picture Windows
Get an unobstructed view of the beautiful scenery right from your home. This type of window ensures your room gets enough natural light while making any space appear larger as well. Keep in mind that these windows are not functional as they do not open. It is best to pair them with a functional one.
Picture window

How to Choose a Good Steel Door
A good steel door does not only ensure secure entry. It also adds aesthetic value to your home. It is the first thing visitors see, so its appearance matters. Furthermore, it may even give them clues about your personality. So, what are the features of the best models?
Pay Attention to Class
Models that comply with the EU Security Theft regulations are divided into 6 classes, where class 1 is the easiest to break in through, and class 6 is the most reliable. Make sure this information is available in the official documents from the manufacturer.

Zone for the Lock
If this area is not durable enough, the door may be opened regardless of the quality of the mechanism. Thus, it is essential to check that the area around the keyhole is reinforced. The best models are equipped with a rosette system for protection. If this spot is weak, it may be removed with a chisel.
Adjustable Hinges
This is important, as different buildings have a different sitting and stretching. Do not expect this from welded fixed hinged doors.
How It Closes
The most durable doors also close easily even when pushed with the tip of your finger. This is because the lock pickup system is of the highest quality. It is convenient and safe.
Double Sealing
The best models have reinforced sealing. This is a means of protection against burglars, noise, extreme temperatures, dust, and insects. High-quality insulation is important for your comfort.
Sturdy Frame
The frame must not change its shape. Inquire about the stretch of the model you intend to purchase.
Concrete Filling
This is the best option, as polyurethane filling fails to provide the necessary level of security. The concrete and the door form a unified structure, which prevents the system from flexing. Not truly, a concrete filling may be costly, but it pays off in the long run.
Coating
If you are choosing an entry door, the best coating choices are glass and aluminum. They suit outdoor conditions best, as they can withstand the elements, be it heavy rain, aggressive sunlight, or corrosion. The right coating adds durability to the door and aesthetics to your home.

Choose Provider Carefully
Make sure the manufacturer or dealer has been in business for years. Unnaturally cheap steel doors can pose a threat to your safety. A reputable manufacturer will provide full after-sales support. Make sure it is available.
Consider Modular Doors.
Some steel doors have a modular structure. This is a perfect choice for someone who thinks their preferences or home style may change over time. Looking at the same door may be boring, but with exterior cladding, you may customize it without altering the entire structure.
Choose Wisely
Not all steel doors are created equal. Some are more durable and secure than others. Consider our tips the next time you shop for a steel door. They will help you choose a model that will last for years.

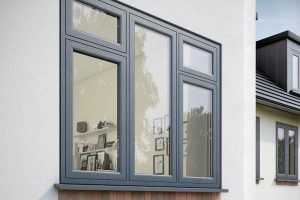
uPVC Windows: Comfort and Coziness All Year Round
Windows made of uPVC (unplasticized polyvinyl chloride) offer a strong combination of plastic and steel. They deliver the best of both worlds: their smooth plastic frames are reinforced with metal inserts. This explains the advantages they deliver.
Due to enhanced strength, uPVC is also widely used for pipelines and doors. In window construction, it covers a steel core. Galvanized steel is impressively sturdy, and so are the windows. The end product is resistant to damage and the elements. And there’s more!
Little Maintenance
When properly installed, such windows require only occasional maintenance. This is why so many homeowners opt for uPVC when they decide to replace their windows. They hardly ever need to lubricate their metal parts.
Great for Harsh Weather
Wooden windows are notorious for their vulnerability to difficult climates. This natural material is bound to warp due to moisture sooner or later. These windows may shrink or expand, so their owners need a replacement. In comparison, reinforced uPVC is perfectly weatherproof. It does not lose its shape.
Therefore, these windows are strong enough to withstand the elements and prevent break-ins. uPVC is the usual choice for the upper floors of multi-storeyed buildings. The windows may be further reinforced if necessary.
Better Insulation
Generally, these windows guarantee better noise insulation as compared to other materials like wood. Their acoustic qualities are impressive. Even homeowners who live in noisy areas are not bothered by any traffic sounds. They enjoy a cozy and peaceful atmosphere at any time.
Difficult to Break
These windows are nearly unbreakable, as damaging them requires a lot of physical force. Their firm layer of steel does not bend. As a result, they are safe and secure. You do not need to worry about burglars getting in. Moreover, most models are also designed as anti-crowbar. This means intruders may not use their conventional tools on them.
Fire Safety
With uPVC windows, you need not worry about combustion. They are both fire resistant and fire retardant.
No Rotting or Rusting
Yes, these windows will never rot. This is another major advantage over natural wood. uPVC models are resistant to corrosion and salt erosion. They last longer than wooden windows by definition.
Installation Guarantee
Professional installation teams provide homeowners with a guarantee.
Cross Ventilation
uPVC windows may be opened from both sides, so they allow unhindered circulation of air between the inside and the outside environments.
A Popular Choice
Windows made of uPVC are extremely popular due to their superior qualities. These windows protect homeowners against burglars and harsh weather. They are also widely used by businesses.
These models are more durable and secure than any wooden alternatives. The polymer acquires all the necessary properties during production. Reinforced with steel, it becomes sturdy and resistant to physical attacks and the elements.

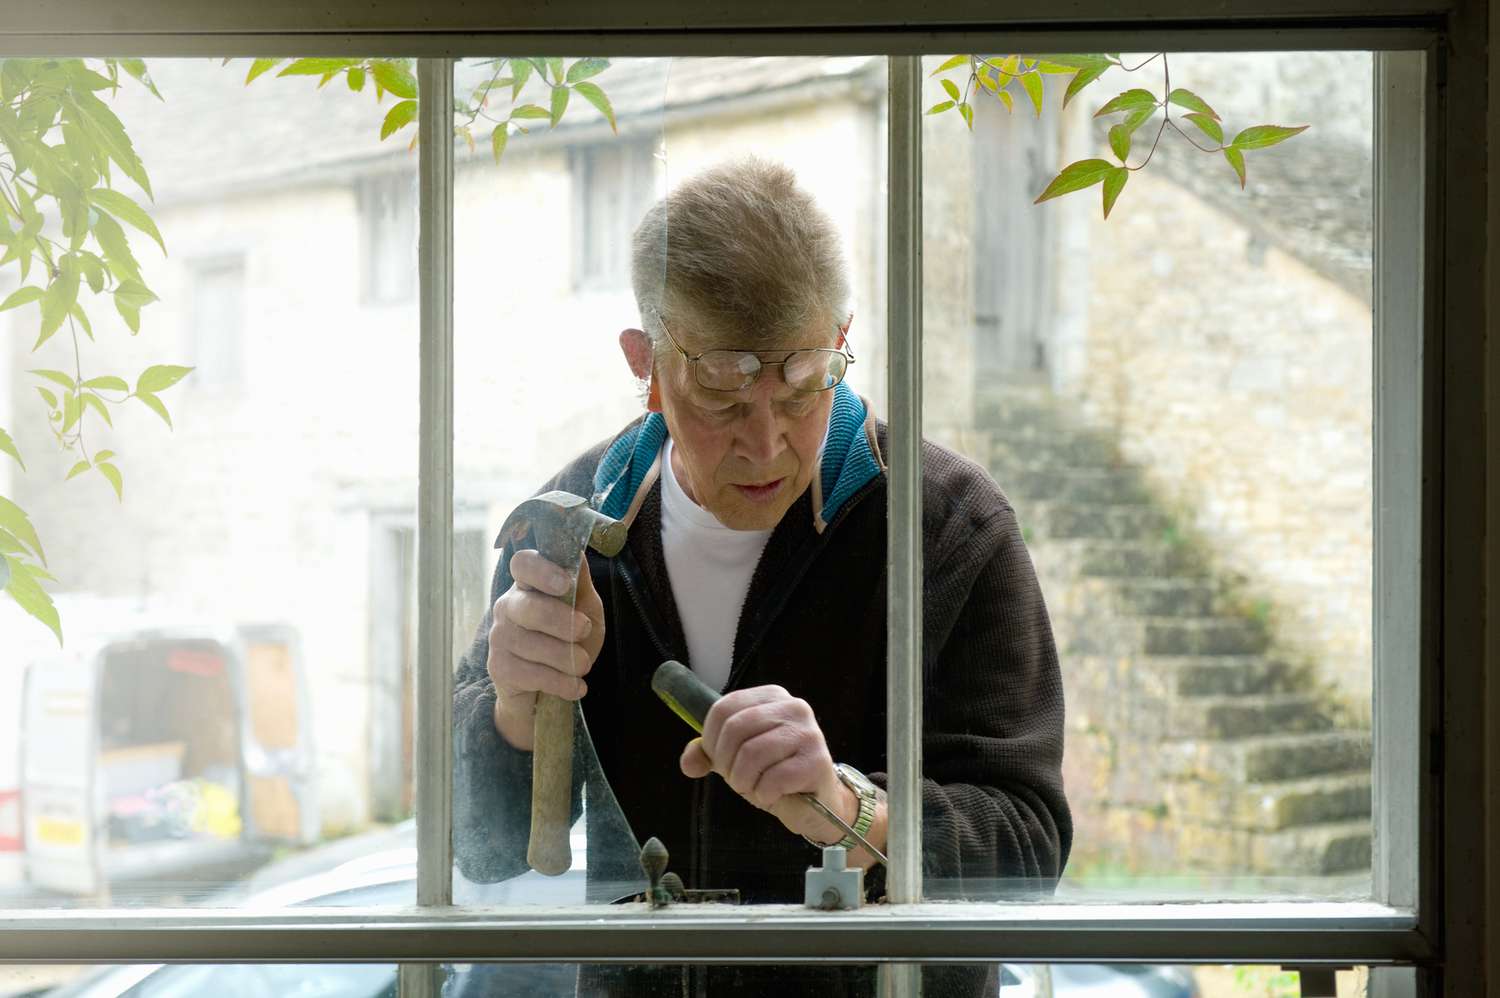
How to Install Windows: 3 Tips for Beginners
High-quality windows enhance the appearance and energy efficiency of your home. Installation is a challenging task. If you decide to turn it into a DIY project, weigh up the pros and cons carefully. A badly installed window is an example of cost-cutting to the detriment of aesthetics and performance.
So, how hard is it to replace a window? This depends on your own skills and experience. You will also need the necessary tools and hardware (the latter may come with the window). Remember that professionals can provide you with an installation guarantee. If you do everything yourself, there is no recourse. The money saved may not be worth the effort for everyone.

Tip 1. Decide If DIY Is a Good Idea
Obviously, you need at least some DIY experience to handle the task. If you are naturally handy and have enough time for the job, it could be a worthy undertaking. Installation without professional services is possible.
On the downside, the challenge is time-consuming, particularly if there is more than one window to put in place. Professional installers work more quickly than amateurs. They may get the job done in a couple of days, while you may need to allocate more time.
Finally, are you sure the forgoing guarantee is a good idea? You will only have yourself to blame in case of defects. The window may crack or break if you drop it. To conclude, make sure you have enough time and experience to accomplish the task.
Tip 2. Prepare the Opening Properly
Begin by removing the trim and casing (jamb extension) of the old window. This may be done with a pry bar. Next, unscrew the window from the jamb. If it is made up of several saches with moving tracks, you can take them apart one at a time.
The next step is to work with the opening. The jamb may be rotten due to leaks, so you may need to fix or replace it. The same applies to the window stop. Remember that the rough opening must be bigger than the new window, with a difference between ¼ and ⅜ inches.
Tip 3. Dry Fit First
You need to make sure the window fits into the opening perfectly. This is why dry fitting is so important. Afterward, you can apply silicone to the window edge and slide the window into the right position. Use a level to make it perfectly horizontal. You may need to place some cedar shims under the frame. Screw the frame to the jamb through its pre-drilled holes.
Final Touches
At this point, you can add molding and trim the jamb if necessary. Finally, conceal nail holes with putty and paint the molding. Voilà! As you can see, the process is quite complex. Think twice before trying to install a window yourself. You will save money, but only if you do everything correctly. Sometimes, the old saying ‘buy cheap, buy twice’ is true.